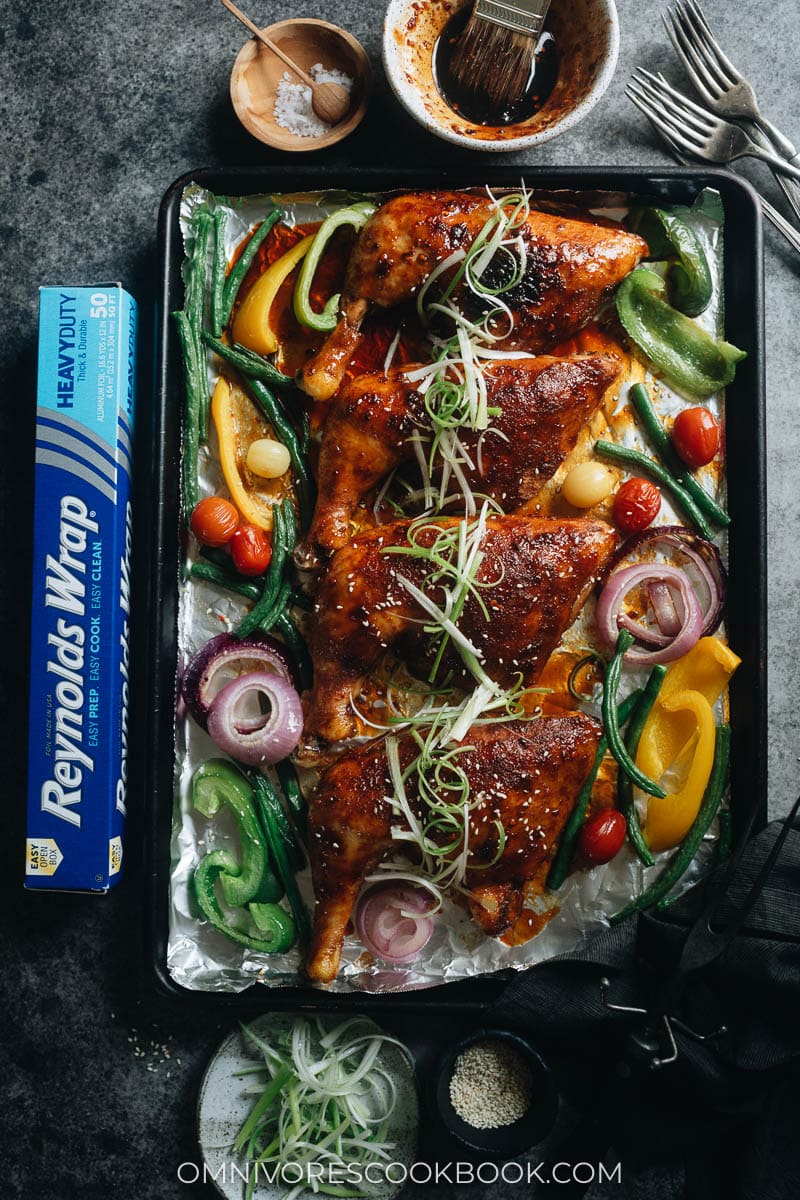
Honey-Soy Glazed Chicken is roasted until super juicy and tender in foil and then broiled with a glaze to give you a beautifully caramelized sweet-savory chicken dinner. I’ve been cooking a lot of oven “barbecue” lately and am continually impressed at how easy it is to get amazingly cooked meat by going low-and-slow with foil and then unwrapping the meat and broiling it for a bit before enjoying it. I’ve been using Reynolds Wrap® Heavy Duty Foil since I moved to the United States six years ago and it’s been an indispensable part of my cooking. Naturally, I was thrilled to have the chance to work with them. Reynolds Wrap® Heavy Duty Foil is durable and sturdy, so you only ever need one layer of it. I can’t remember having it break on me. And to be able to lock in moisture so reliably, I’ve been able to use this foil to make wonderful ribs, chicken, potatoes, carrots, and more. The ability of the product to help develop flavor and tenderness in all kinds of food is HUGE. The new package now is easier to open and has a tab that keeps the box fully closed for storing after use. The new color-coded look also makes it easier to find the product in the aisle. Look for the blue design for Reynolds Wrap® Heavy Duty Foil. I’m very pleased with how this Honey-Soy Glazed Chicken came out and hope that you, too, can enjoy the rewards of foil roasting!
Honey-Soy Glazed Chicken: BBQ Meets Teriyaki
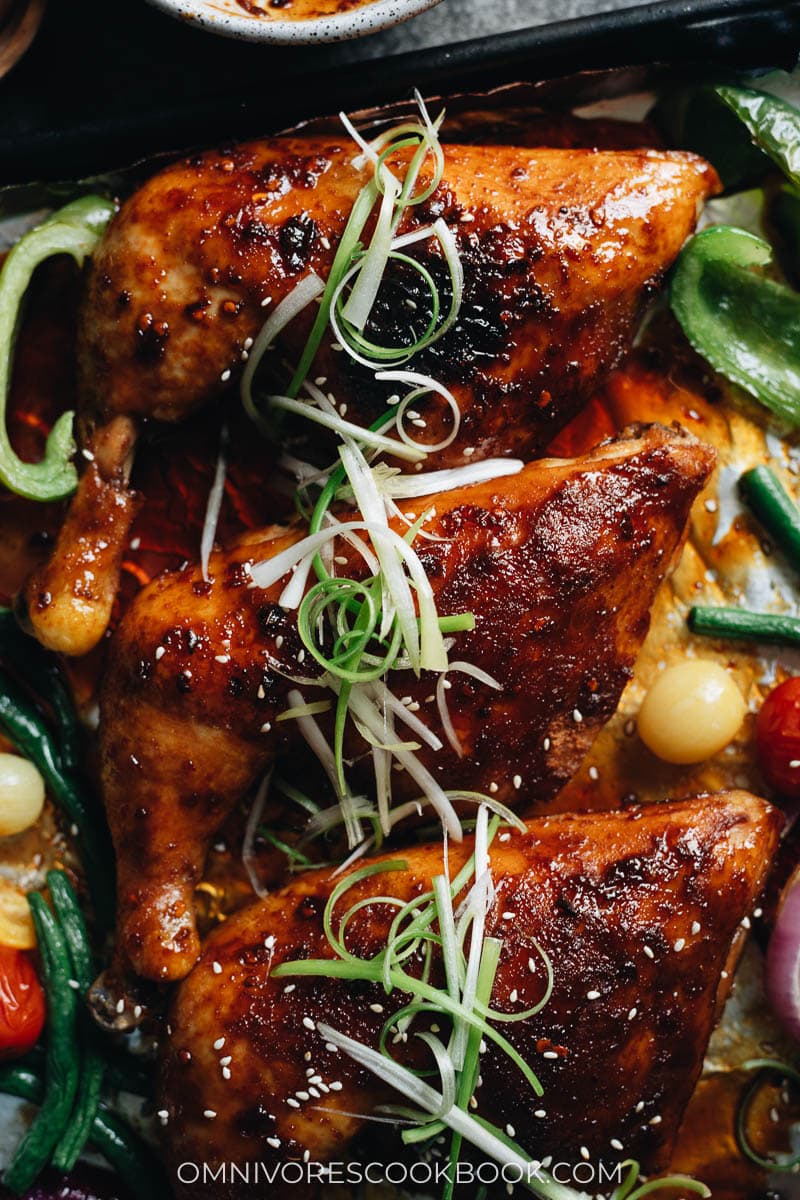
This chicken brings you the nearly-falling-apart juicy tenderness of a slow cooked chicken and the irresistible sweet-savory glaze that you may know from teriyaki and it’s such a great combination. I’m a huge fan of barbecued chicken – tender, juicy meat encased in a crispy crust, tangy and a little sticky. And who doesn’t love teriyaki? It’s got that perfect balance of sweetness and umami, plus a bit of ginger-garlic aromatics. It’s a marriage of two very classic dishes and it’s sure to please any palate, regardless of how adventurous or picky the eater.
How to make Honey-Soy Glazed Chicken
Make a Dry Rub and Wrap in Reynolds Wrap® Heavy Duty Foil to Start
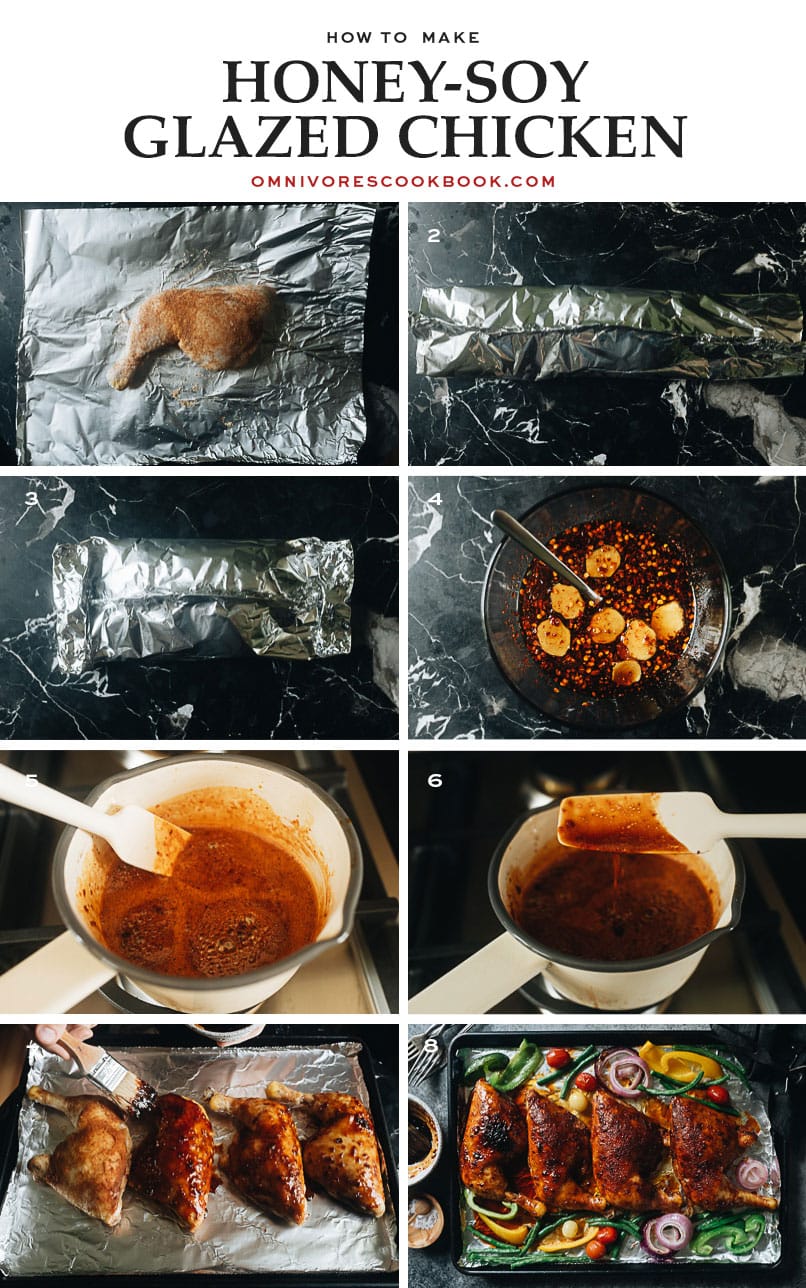
You’ll mix up some dry spices (ginger, garlic, and chili powder) with salt and sugar and rub the mixture onto the chicken. This blend will help develop the flavor and juiciness of the chicken as it cooks slowly in the foil. I used Reynolds Wrap® Heavy Duty Foil because it is perfect for cooking with heavier foods since you don’t have to worry about breaking or tearing. The honey-soy glaze comes later. As you wrap up the chicken in foil, take care to put the seam at the top, so none of the juices will spill out. Press the foil together tightly, to prevent moisture from escaping in the form of steam. If too much steam escapes, the chicken won’t be as juicy. For the best results, you should wrap each piece of chicken (I highly recommend leg quarters) in its own pouch. It’s easiest to handle this way.
Roast the Chicken Nice and Slow
Once your chicken pouches are ready, you can bake them. 300 degrees F for an hour and a half will get the chicken not just cooked through, but also very tender and full of flavor.
Make the Sauce as the Chicken Cooks
With 90 minutes to spare until the chicken is ready, you have plenty of time to get the honey-soy glaze ready. Making the glaze is very straightforward – gently heat the honey, soy sauce, fresh ginger, and chili flakes (save the lemon juice for later) to bring it to a simmer, stirring until it thickens. It takes 10 minutes or so and you’ll need to tend to it, stirring as needed to prevent scorching. Otherwise, you can use the rest of the roasting time however you like. Once the sauce has thickened up a bit like molasses, you’ll take it off the heat and stir in the lemon juice, which will thin it out slightly. You want a glaze that is thick enough to not drip off of the chicken when you brush it on.
Unwrap, Brush, and Broil the Chicken
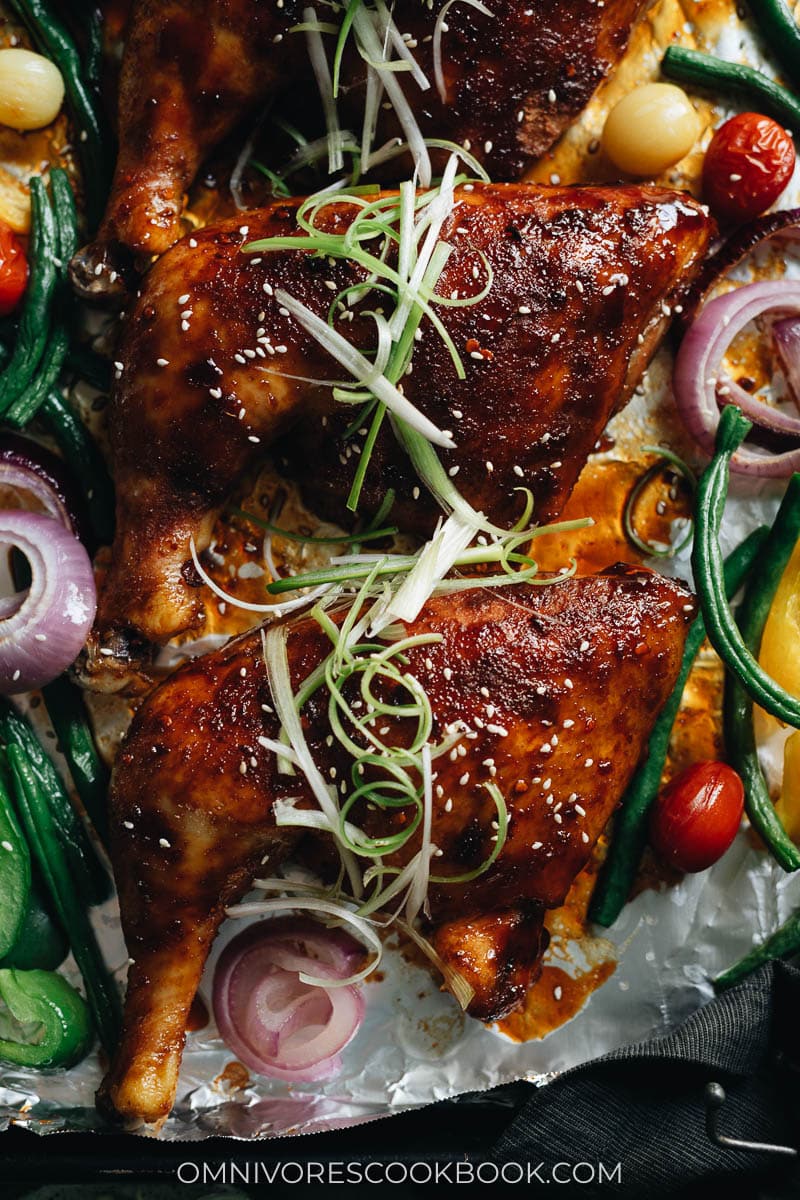
Once the 90 minutes are up and the foil roasting has worked its magic, it’s time for the finishing touch. Take the chicken out of the oven, fire up the broiler, then unwrap the pouches and place the chicken directly on the foil-lined baking pan. You’ll brush half of the glaze onto it, taking care to keep as much of the glaze on the chicken as possible. You don’t want the glaze on the foil, as it could burn and smoke up your kitchen. Once the broiler is nice and hot, pop the chicken back in and let it broil for 5 minutes or so, until the glaze is nicely caramelized. Take the chicken out and brush the rest of the glaze onto it, and repeat. The chicken is ready when the second coat of glaze is nicely caramelized – a nice dark brown but not black.
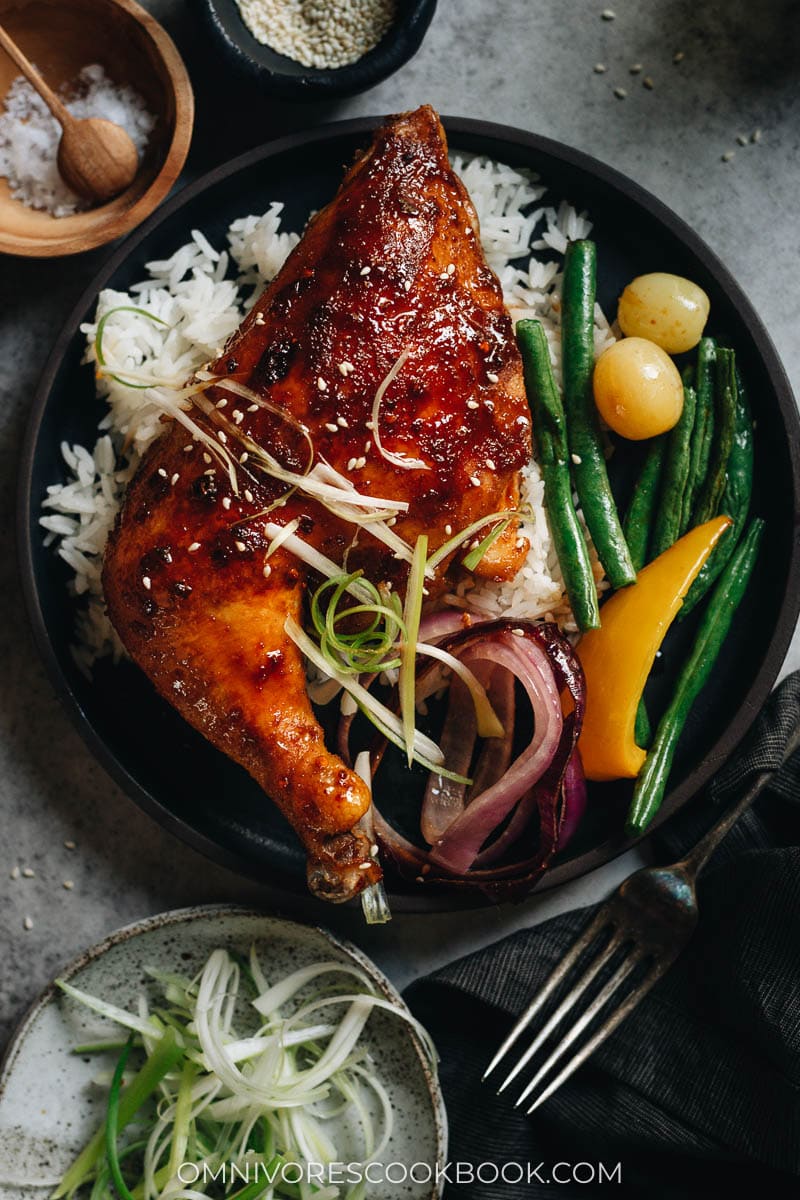
Make it a Meal: Broil Some Veggies, Too
The recipe below is focused on helping you get this delicious chicken on your table, but the cooking method makes it very easy to roast some veggies along with the chicken without much more work. Here are some tips to get you moving in the right direction:
You effectively have 10 minutes of broiler time to cook the veggies, so you’ll need to choose thinner ones that can get cooked through in that time.You can either use veggies that are already thin (green beans, cherry tomatoes) or those that can easily be sliced thin and are not super dense (onion, pepper)Spray or brush some oil onto the veggies to prevent them from scorching under the heat of the broiler.
Final Thoughts
I’ve been cooking with foil in different ways for a long time, but I still find myself impressed at the results that certain cooking techniques that use it can bring. I hope you find this method useful and that it helps you enjoy some very tasty, very easy-to-make roast chicken!
More chicken dinner recipes
Chinese Curry ChickenCrispy Baked Chicken LegThai Basil Chicken (Pad Krapow Gai)Pineapple ChickenChicken Fried Rice (鸡肉炒饭)