If you’re thinking about making dairy-free yogurt, but are hesitating because you think it’s difficult, let me guide you through the process. It’s super easy to make if you follow a few key steps. Ever since my family embraced a vegan lifestyle, I have tried a lot of options for a dependable and repeatable way to prepare non-dairy yogurt and I am glad that this recipe actually works. I agree to be sent email.
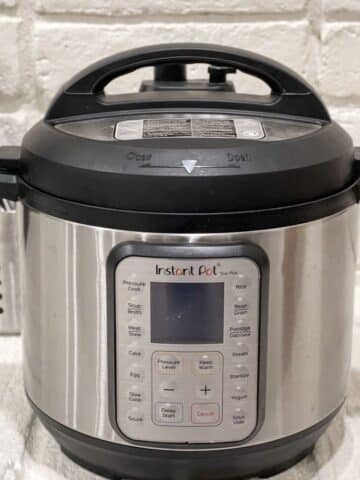
I have tried Soy Milk yogurt several times with decent success. It turned out pretty good with all the necessary probiotics, however, I stopped consuming soy milk after I was diagnosed with problems in my thyroids. I had also tried it with almond milk however it did not have the texture I was expecting from yogurt. Coconut milk is one option that seems to have the right answer for all the vegan yogurt lovers out there… I cannot believe how much I have come to depend on the Instant Pot. But when it has a setting called “Yogurt”, it was just about time I shared a recipe like this one. Instant Pot makes the process super easy and simple. Although the fermenting process within the Instant Pot is long just like the traditional method, the end result is worth every bit of the effort. After all, the homemade version will beat the store-bought version any day. There is no need to consume store-bought kinds that can be loaded with sugar.
Ingredients used for coconut yogurt
Coconut milk 18% fat or full fat Or Coconut cream 22% fat Rice flour Vegan starter culture
How to thicken the coconut milk yogurt?
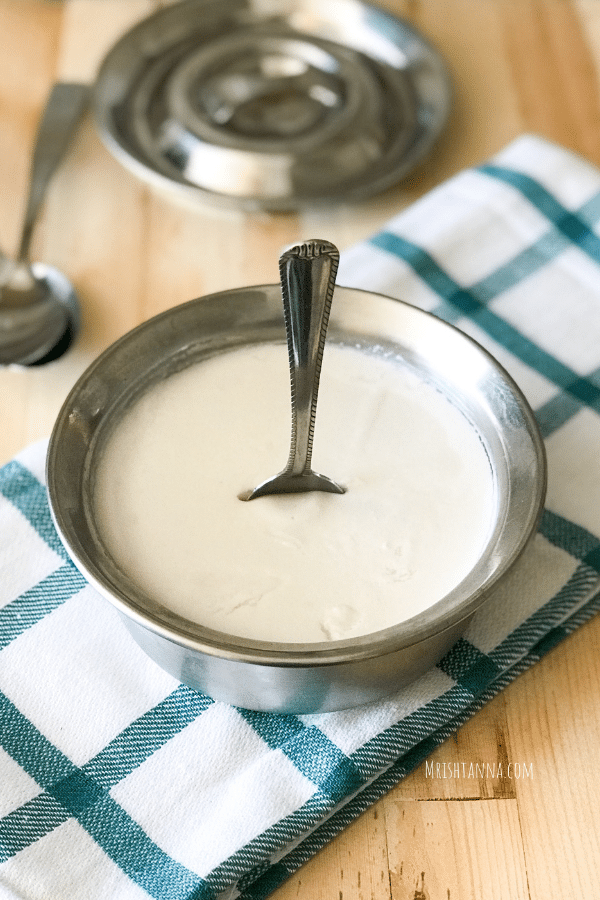
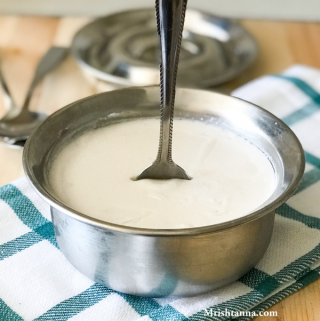
When I made my first-time coconut yogurt, it was not as thick as store-bought. But then after a little bit of research, I found out that it needs ingredients like agar, gelatin, or some kind of a thickener for that to happen. Then I decided to make a subtle variation by adding a little bit of rice flour because it’s inexpensive and easily available. But again, it is an optional item and does not have any effect on the fermenting process.
Expert tips
Be sure that the inner pot is clean and dry. Clean with warm water and soap. Be sure to buy Unsweetened, Organic, coconut milk or coconut cream with no guar.You don’t have to buy full-fat coconut milk. I prepared this with 18% and 22% fat versions.If you are making this for the first time purchase a vegan starter culture. After you’ve prepared it a few times and if you are happy with it, you can start saving a tablespoon of yogurt to make new batches, but wait to do that until you’ve got the hang of making yogurt. I used my homemade coconut yogurt three times in subsequent batches.DO NOT add your starter yogurt until the yogurt has cooled to 100-105 F. If you add the starter sooner, it will kill off most of the live cultures.If you don’t have a thermometer, wait until the milk reaches a light, warm temperature. (you can check with your fingertip)You can boil the coconut milk in an instant pot before making yogurt. I chose to boil it in a separate pan and poured the coconut milk in a steel vessel. Then I placed the container inside the instant pot for fermentation. The yogurt tends to thicken during the cooling process. If your yogurt is relatively thin, don’t worry!! It will likely thicken some when cooled.Though it thickens as it cools down, I recommend adding a bit of rice flour. By adding 2 teaspoons of flour you’ll get a thicker yogurt, If you don’t mind a thinner yogurt, feel free to skip the rice flour. Before adding rice flour to the coconut milk, stir the flour with a small amount of warm coconut milk in a small bowl. This will help to avoid lumps or chunks in coconut yogurt.Go for a longer fermentation duration. Typically 10- 12 hours. After the yogurt is complete, place it in the refrigerator for 4- 6 hours to get a nice and thick version.The procedure is the same whether you choose to use coconut milk or coconut cream. I noticed a creamier and thicker yogurt from coconut cream.
Before starting your coconut milk yogurt please read my full procedure here, so you don’t miss the finer details.
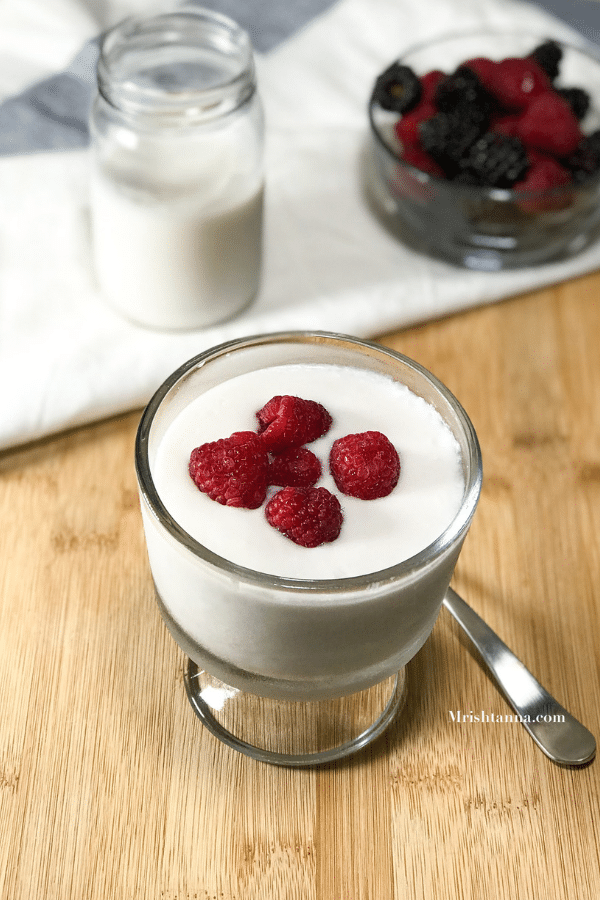
How to use coconut milk yogurt?
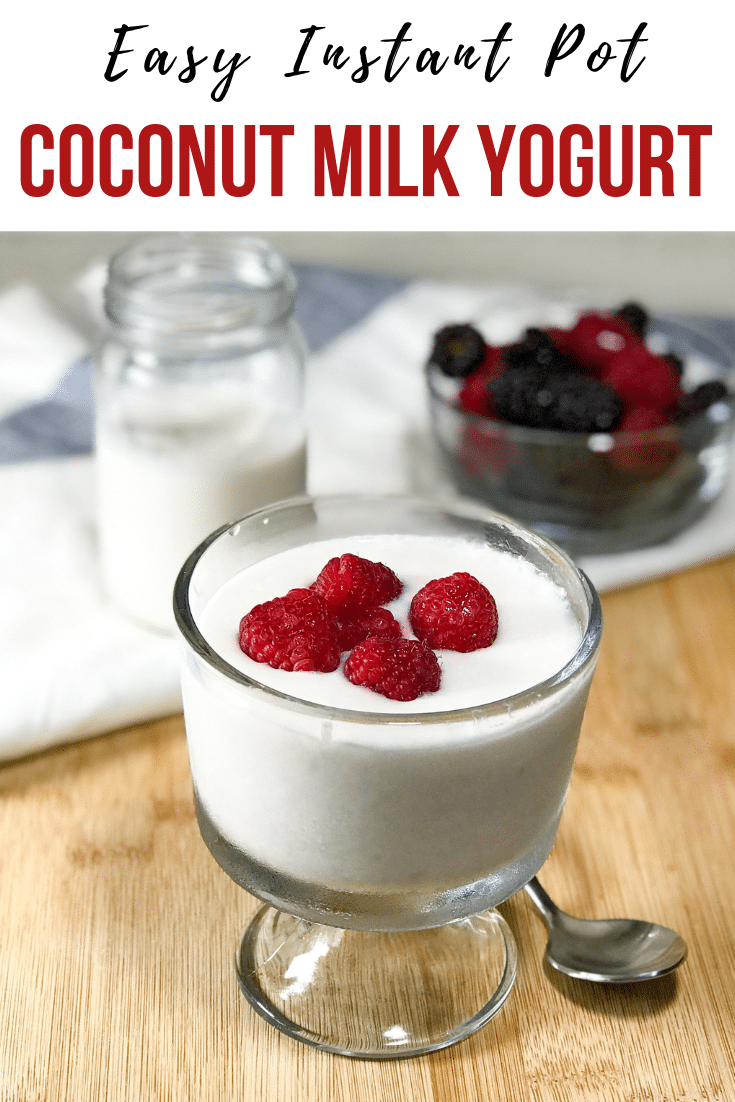
You can enjoy homemade coconut yogurt as-is or enjoy it with a fruit or in a smoothie. You could also prepare delectable recipes like Lassi, raita, cake, or several Indian curries that call for yogurt. This could be the best sugarless yogurt you have ever eaten. But if you prefer it sweet, you could always sweeten it up with table sugar.
You might also like
Homemade Soy Yogurt RecipeHow Do You Know When Plantain Is RipeInstant Pot Vegetable BiryaniInstant Pot Rajma
📖 Recipe
Save this recipe for later use