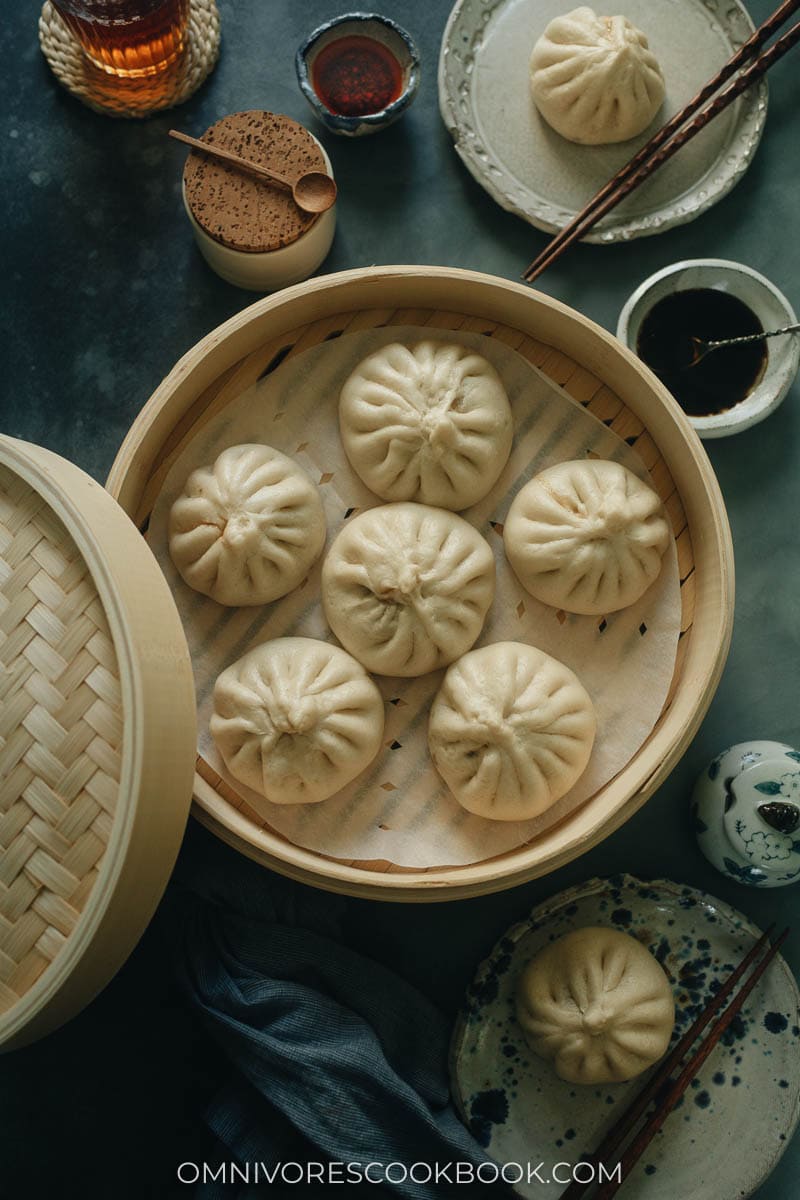
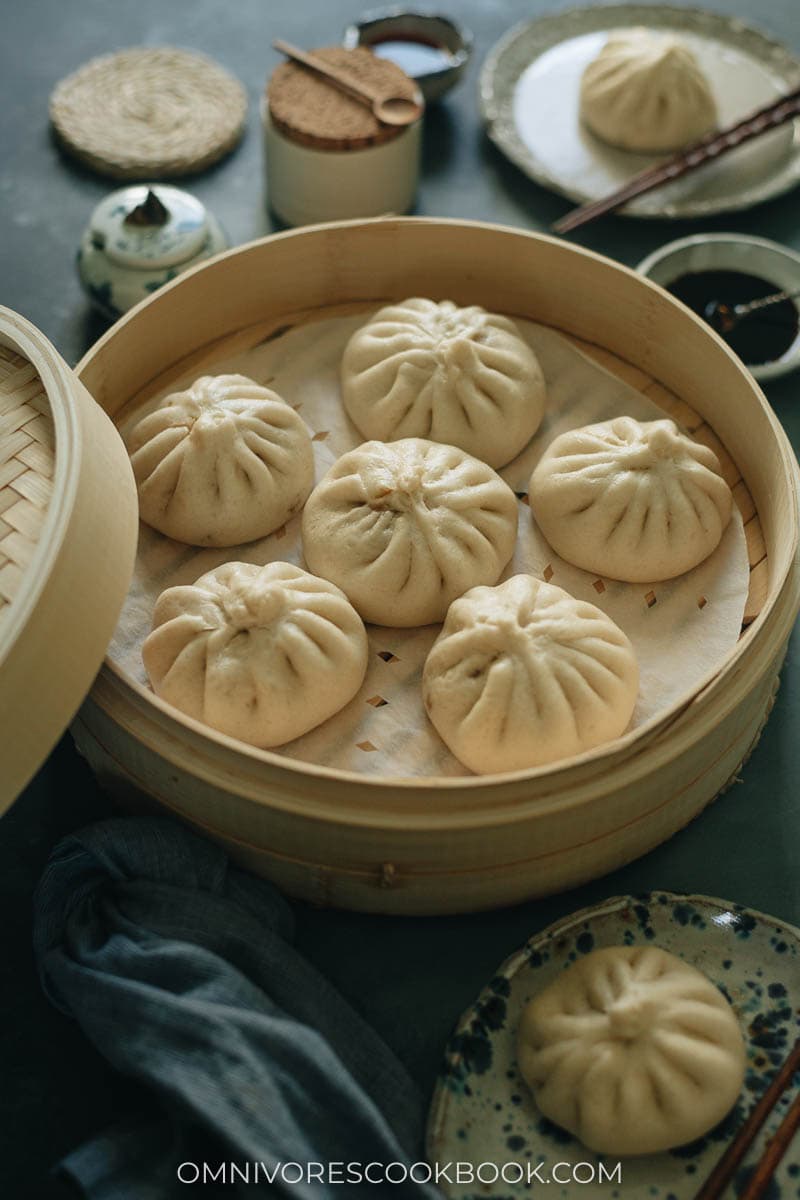
Steamed pork and chive buns are a Northern Chinese classic and they have a special place in my heart. The fluffy yeast buns are stuffed with a tender, juicy filling of pork and Chinese chive, creating an intense, savory taste that is ultra satisfying and comforting. In China, you can easily get these buns fresh from a street vendor, school, office cafeteria, or quick-serve restaurant. It’s quite common to see commuters rush into morning trains holding a bag of steamy hot pork buns and eating them on the go. They are a cheap, quick snack that’s suitable for any time of day.
What is Chinese chive
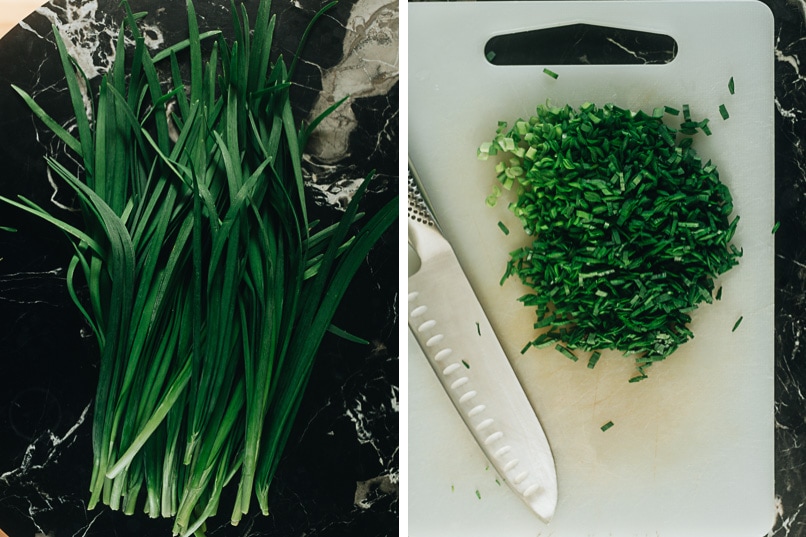
Chinese chive, or Jiu Cai (韭菜), is also called garlic chive. It has flat leaves and tender tubes, with a robust taste of garlic and green onion. Because of its strong taste, my mom doesn’t like to make steamed pork buns with chive at home. She thinks the Chinese chive is too stinky! It is true – when you combine green onion and garlic into one plant, the result somehow intensifies and creates a doubly pungent taste. Although the buns are extremely delicious when you eat them, your house may still be vampire-proof for a few hours after you wash the dishes.
Why this recipe
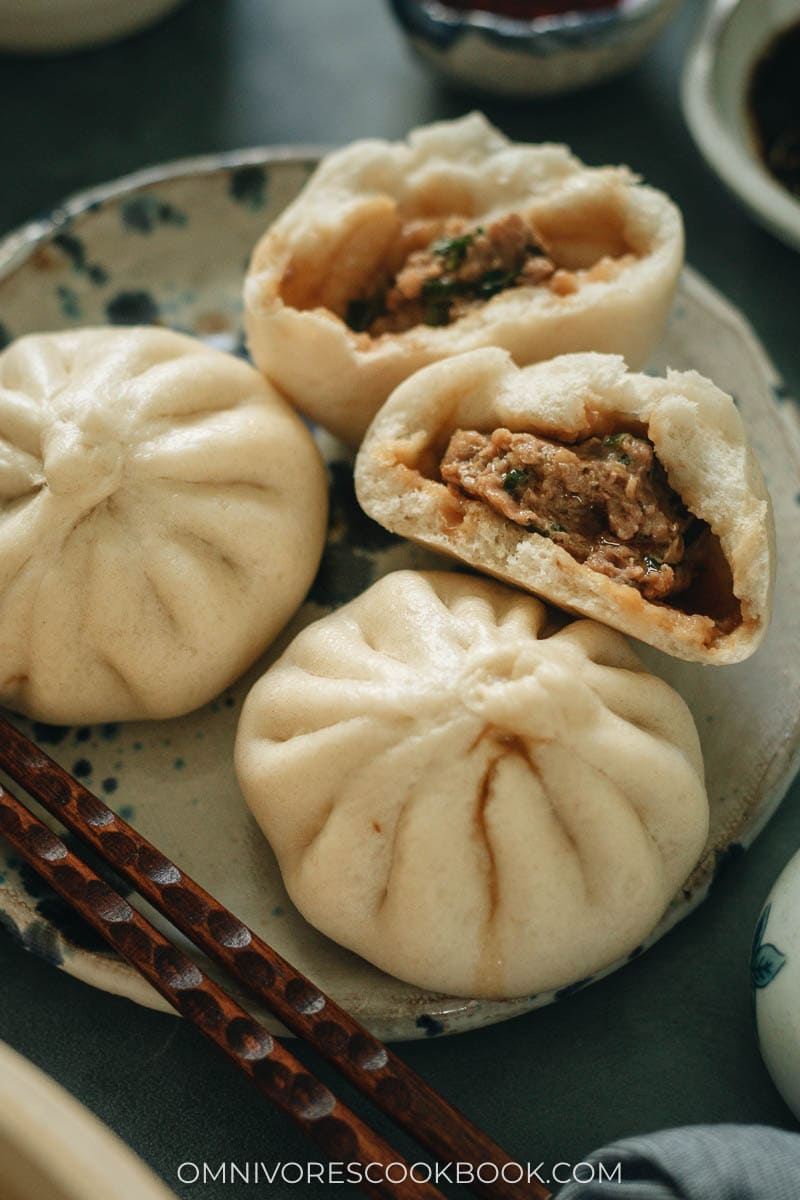
My dad and I LOVE the pork and chive filling. So once in a while when my mom was in a good mood, we’d get to eat the homemade buns. It’s ten times better than the street food version because the buns are extra fluffy with a thinner skin, and the filling is bigger and juicier. I really love this recipe because:
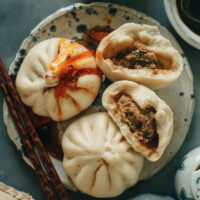
You can use a stand mixer to knead the dough, which makes the process much easier and consistentThe ginger water method adds more liquid into the filling, making it extra juicy. If you bite into the freshly steamed buns, you can see a small pool of juice on the bottom of the buns. The filling is extra flavorful and tender.The skin is fluffy and soft.
Essential tools
Here are a few things you’ll need to make the steamed pork buns or any steamed yeast buns:
Steamer
It’s totally OK to use a regular stainless steel steamer. In this case, you will need a towel to pad the steamer and the lid. It helps catch the condensation formed during the steaming process, which causes the buns to collapse if not absorbed. If you want a more perfect result, purchase a set of bamboo steamers. They will help vent the steam better without forming condensation. You’ll also have two tiers to work with, which means you can cook more buns at a time.
Steamer liner
A steamer liner is a piece of perforated parchment paper that’s cut to the size of the steamer. You should use it to line the steamer to prevent the buns from sticking. Of course, you can cut parchment paper to create the liners yourself. Make sure to cut small holes throughout so the steam will go through. I found that the cutting takes quite a bit of time and effort. If you plan to steam food more often, I recommend buying a pack of liners instead. For a more environmentally friendly method, you can also wet a few layers of cheesecloth and squeeze out as much water as possible and use that as your liner. It’s the method my mom always uses. You should use dish soap to thoroughly clean the cheesecloth and air dry it after each use.
Small rolling pin
You should always use a smaller, shorter rolling pin for making all Chinese buns and dumplings. It’s lighter and easier to handle as you roll out small objects such as bun wrappers.
Making steamed pork buns with chive at home
Making steamed buns from scratch might sound intimidating, but the process is actually not as bad as it looks.
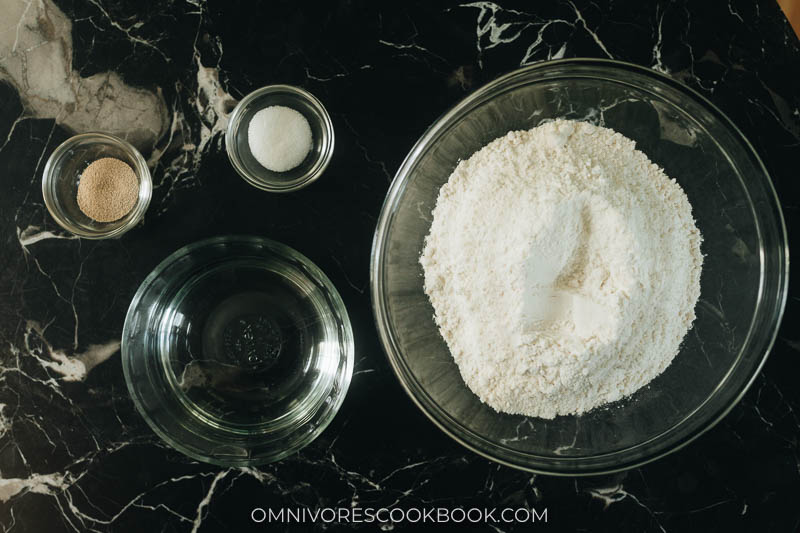
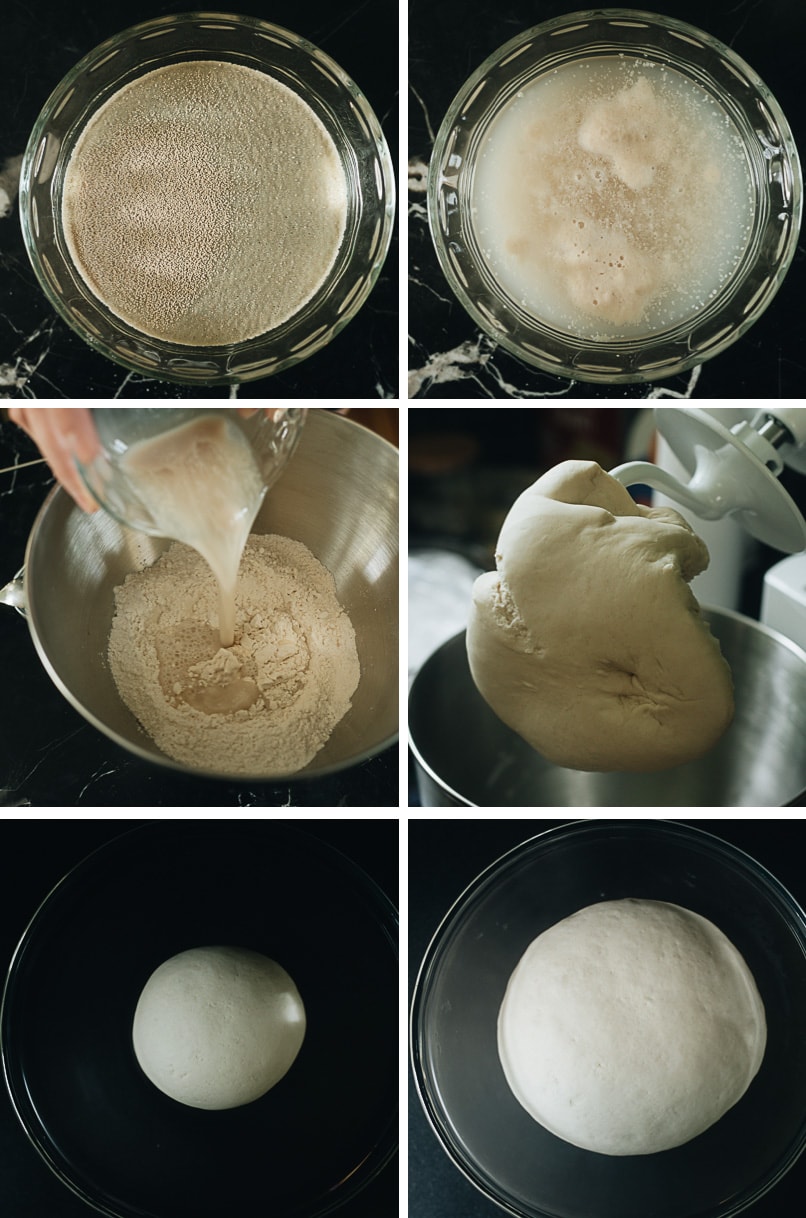
The dough
The dough contains a few simple ingredients – warm water, sugar, yeast and flour. Although we usually hand mix and knead the dough in China, I’ve found that it’s totally OK to knead the dough in a stand mixer. All you need to do is: NOTE: Depending on your room temperature and humidity, the resting time can vary a lot. You should check on the dough every 15 minutes after the first 30 minutes have passed, to prevent over-proofing.
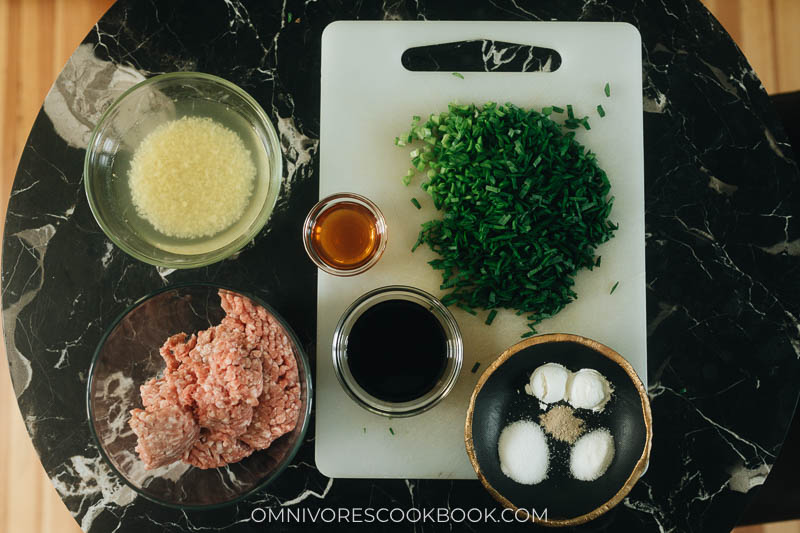
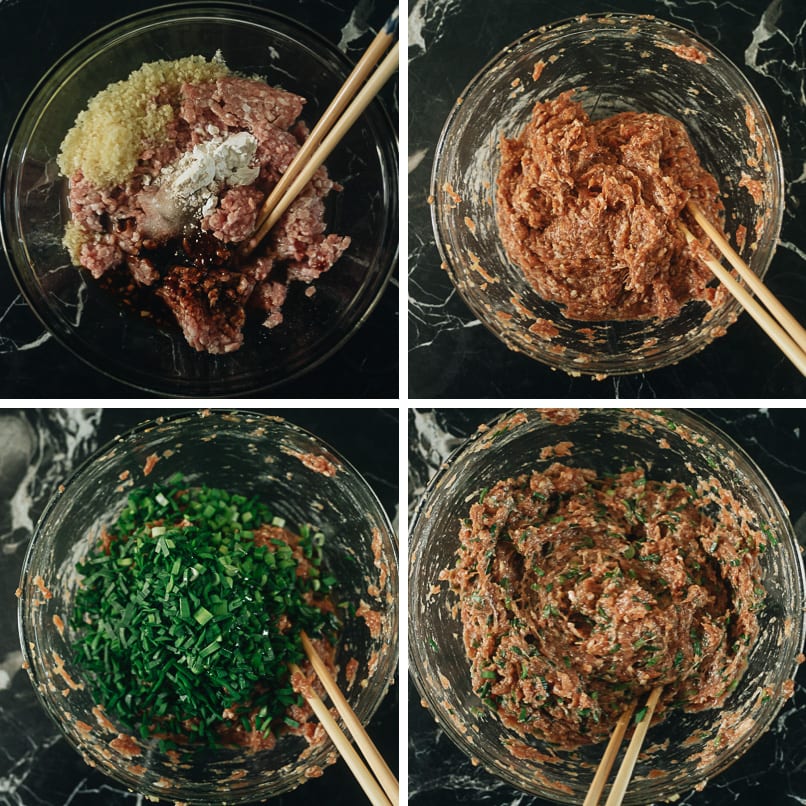
The filling
The filling is made with ground pork, chive, ginger water, and a few seasonings. To make the filling: NOTES
For the ginger water, you can choose to add all the minced ginger into the filling or strain and discard the pieces. I like a gingery taste so I added it into my buns. But I do think the buns without ginger have a more balanced flavor.It’s very important to beat the pork thoroughly until it feels very sticky. This step will allow the pork to absorb all the liquid, making the filling very tender and juicy. It also helps the filling to hold together.
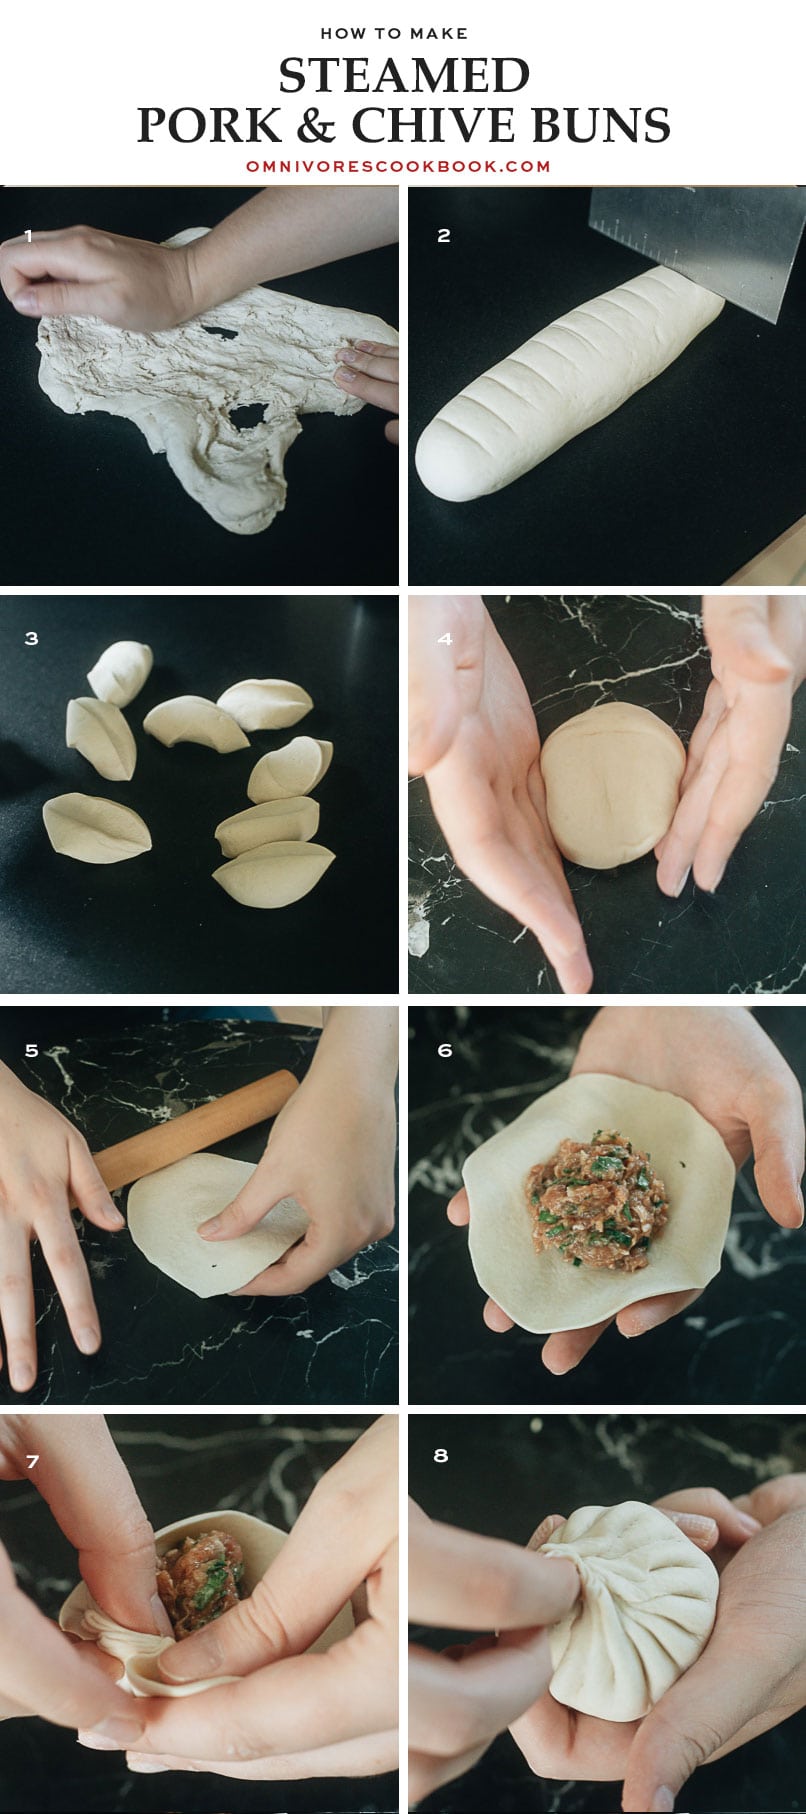
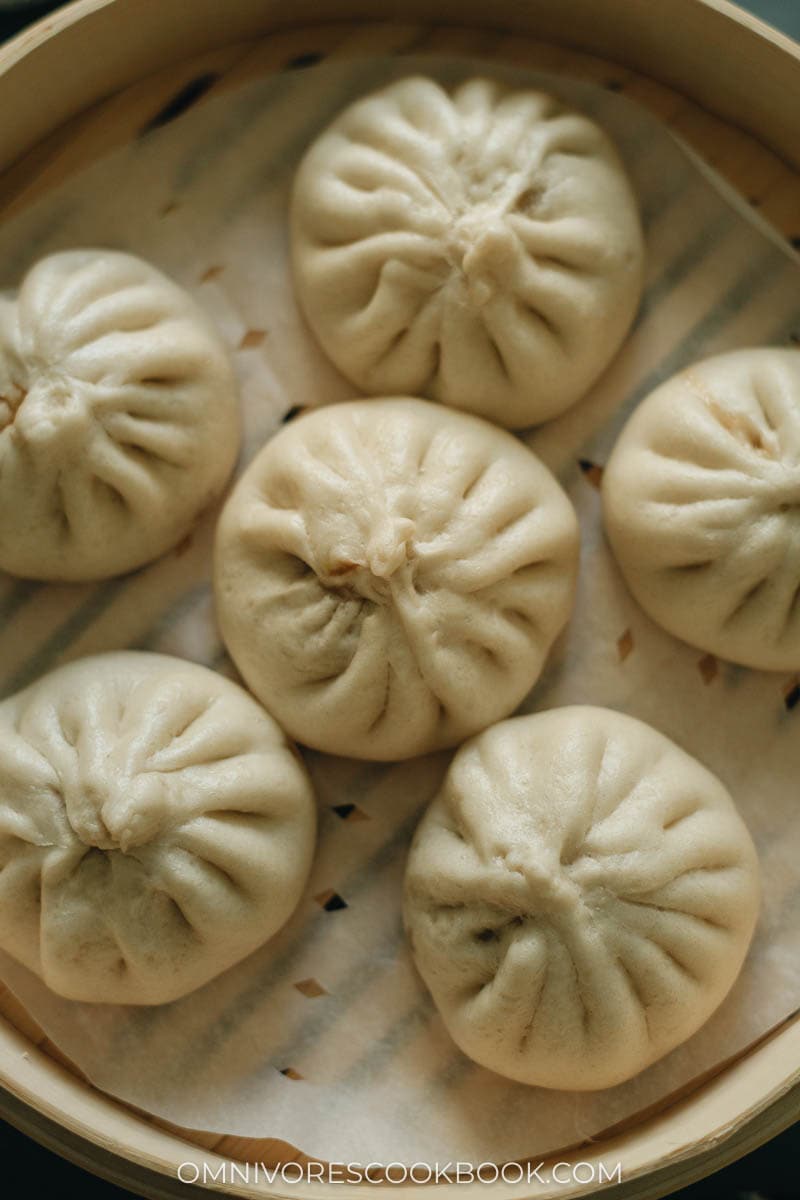
Wrap the buns
Once the filling and the dough are ready, you can wrap the buns. How to make pleats video: I haven’t gotten a chance to make a video for this recipe. If you’re not sure how the wrapping works, I suggest you check out my previous steamed kimchi pork bun video for a better understanding.
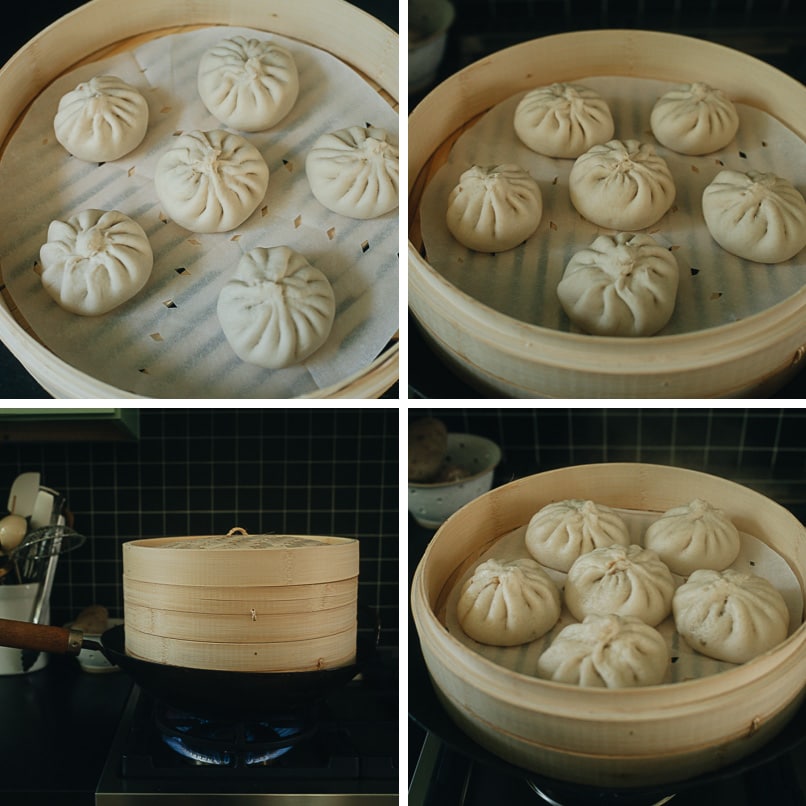
Rest and cook the buns
Once you wrap the buns, you need to let them rest for 15 minutes before cooking. Once their size has slightly increased, you can start steamingCalculate the steaming time starting from the point that you see the steam coming out Let the buns rest a few more minutes before uncovering the lid. This step allows the pressure in the steamer to drop gradually, so the buns won’t shrink as soon as you open the lid.
Workflow & how to make a double batch
It’s always easier if you have an extra pair of hands when it comes to wrapping the buns. Once they’re wrapped, you’ll want to rest them for just the right amount of time before cooking. Rest them too little, and the buns won’t be as fluffy. Rest them too much, and the air bubbles in the wrapper might become too big and make the buns ugly or even cause them to collapse. If you are working on the buns by yourself, I recommend cooking them one batch (6 buns) at a time for the best results. In the recipe below, I also include how you should measure the resting time if you cook all the buns at the same time.
Make a double batch
The process of making a double batch can be a little tricky, since the longer you work on the buns, the further the rest of the dough will rise. I recommend putting half of the dough in the refrigerator after the first rise, to prevent the dough from overproofing. While you rest the second batch, you might need to slightly adjust the resting time. Because the dough will be cold from the fridge and it needs a bit of time to return to room temperature.
How to store and reheat the buns
There’s no great way to store the uncooked buns. Once you start making the dough, every step affects how the dough rises and it’s hard to control it before cooking. That’s why I always recommend that you only store the cooked buns. Granted, the buns will lose some of their juiciness, but the result will be much more consistent and is overall better than storing the uncooked buns. To reheat the buns, the best way is to use a steamer, just like you’d cook the raw buns. If you want a quick reheat for the refrigerated buns, a microwave works, too. Be aware, though, that the skin might become a bit tough if you reheat the bun for too long in a microwave. If you only make 12 buns, I highly doubt if you will have any leftovers! I can easily eat half a dozen in one sitting and finish up the rest when I get that midnight salty food craving 🙂
More Chinese Buns and Dumplings
Sheng Jian Bao (生煎包, Shanghai Pan-Fried Pork Buns)Addictive Kimchi Pork Steamed BunsSoup Dumplings (小笼包, Xiao Long Bao)How to Make Chinese Dumplings from Scratch
Lilja Walter is a part of the Omnivore’s Cookbook team and worked closely with Maggie to develop and test this recipe.